Sortimo on a Budget?
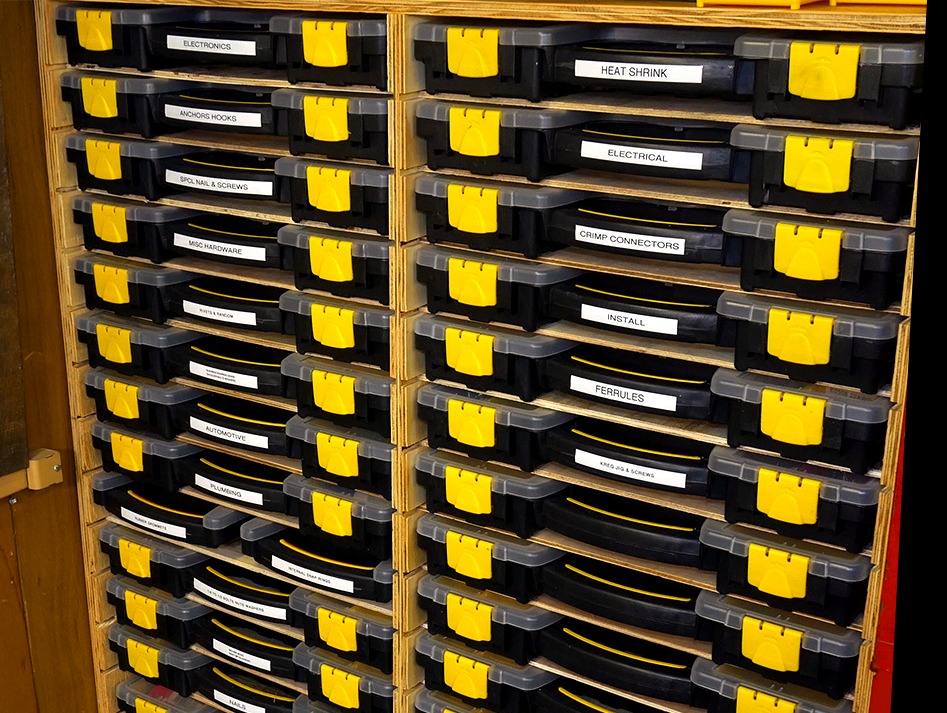
Shop organizing, cleanup, and storage are a never-ending quest and I'm going to take a stab at improving my current systems. Up until now, I thought I had a pretty good solution- Using the Harbor Freight storage cases as my own Adam Savage inspired "poor man's" Sortimo system. Those cases, along with my own 3D printed inserts, have worked out pretty well for me, at least up to this point.
Working on our carnival ride restoration project, I need to store parts that exceed the capacity of my current system. But I don't know if I can go bigger using my current methods.
Ender 3 Printer Limitations
Coincidentally, I had a viewer send me an email asking if I had ever considered printing larger 3D inserts. I explained that I hadn't. That the limiting factor was the size of my Ender 3 printer. I could only print bins up to a certain size.
I did revisit the issue though, and I determined there was one additional size bin that I could manage to fit on the print surface if I oriented it diagonally. Due to the larger size though, it was kind of flimsy so I increased the wall thickness and I added some stiffening ribs down the side.
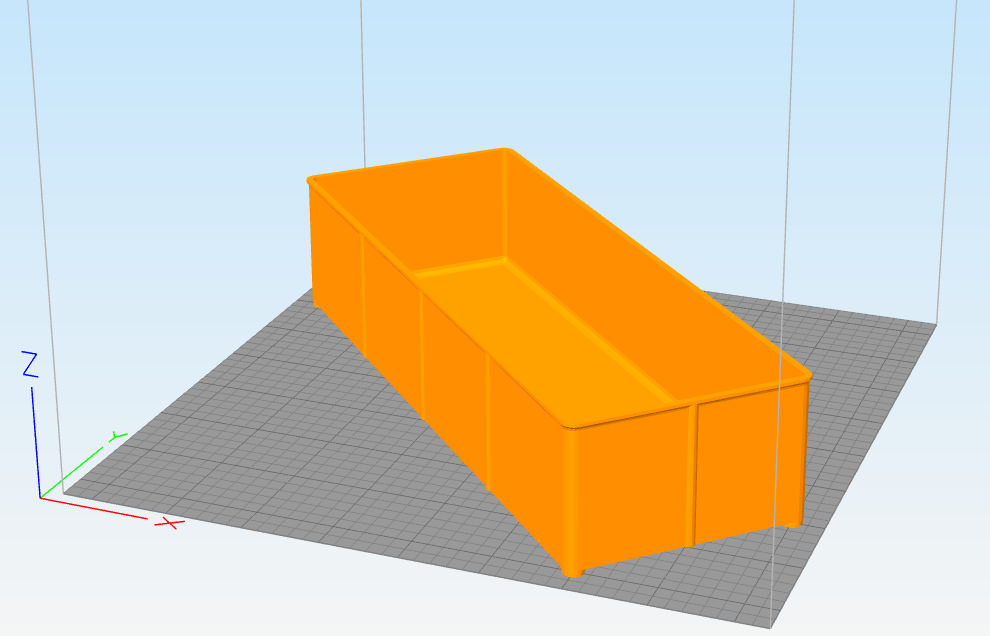
He went on to ask if I had ever designed the inserts for the larger Harbor Freight case. They call this their 8 Bin Large Portable Parts Case. And I explained that I haven't because I don't use very many of these. I only have two (well now three). But I thought with my changing storage requirements, now might be the time to have another look at these larger cases.
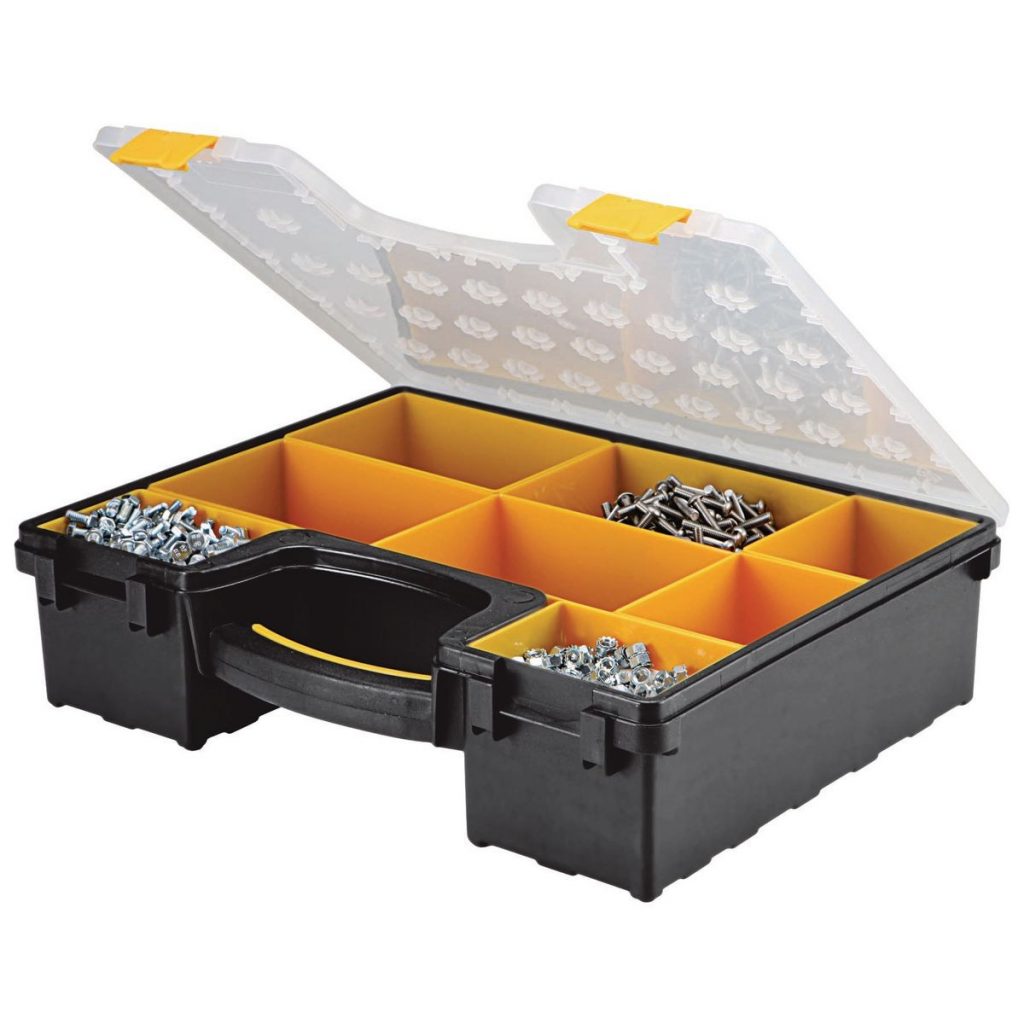
Storage Bin Design Challenges
These larger bins present a few challenges for 3D printing -things that are slightly different from the smaller inserts that I previously designed.
Mold Draft
On the small case inserts, I was able to eliminate the taper, or draft as it's called, on the sides of the bin. That's just put there so that these will pop out of the cavity in the injection mold that they're made in.
On my 3D printed version, I printed these with straight sides and that resulted in a bin with a slightly larger internal volume than the stock bin.
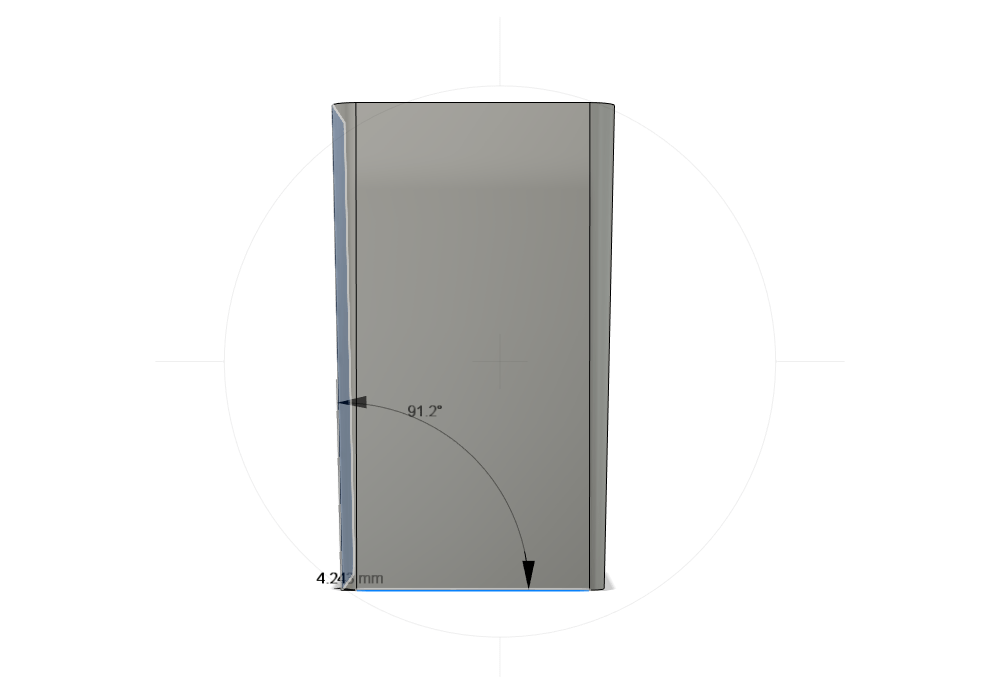
On the larger bins, I can't ignore that taper. Since the case is taller, it has more room to develop. The angle itself is no more severe, it's still about 2 degrees. But the distance over which it travels is greater, and the case also has the same taper. If I were to use the top dimension for my bins, they wouldn't be able to slip all the way down into the case. Conversely, if I use the bottom dimensions, then I'm just wasting potential storage space. So, I need to include that taper in my design.
Sidewall thickness
Another design consideration is wall thickness. These bins are larger and I will use them to store larger, potentially heavier items. I feel like the side walls should be beefed up a little bit over the original design.
Interlocking Feet
And finally, on the smaller bins I included the feet that lock the bin into the bottom of the case. It's a nice feature to have but it isn't strictly required. On these larger bins, I decided to eliminate the feet. The feet require an entire support structure. This both increases print time and can have an adverse effect on the surface finish. There are ridges in the lid of the case to hold the bins in place. I typically always have full cases, so there's no place for the bins to slide.
So now that I've got a model that looks like it'll work,
the only thing left to do is print it and see how it fits.
Update on Ryobi Green
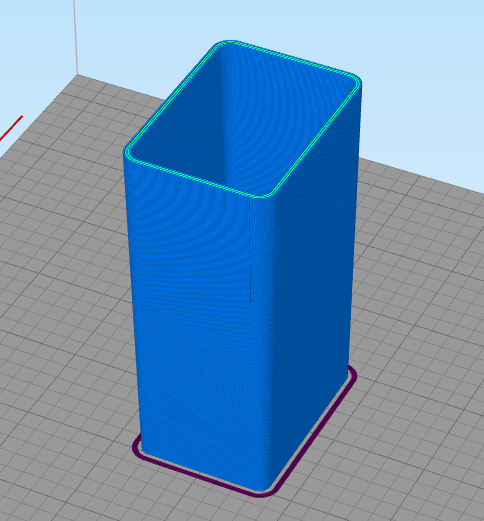
In a previous video I designed custom inserts to store Ryobi cordless tool accessories. I found what I thought was a pretty good shade of green to match the Ryobi color. Since then, I found what I believe is an even better match. This is a color called "Lulzbot Green" by a company called 3D Fuel that is my new personal recommendation.

(Paid Links)
As an Amazon Affiliate, I earn from Qualifying Purchases.Amazon and the Amazon logo are trademarks of Amazon.com, Inc, or its affiliates
What Filament Should I Use?
I'm going to be using these bins in my workshop so I don't need to be too concerned with the material I use for printing. I can pretty much print these out of any filament I have on hand and get acceptable results. But if you're going to be making these for mobile use, where you're going to be potentially storing them in a hot vehicle, you're going to have to stay away from PLA filament. PLA is not up to that environment- they'll warp and melt. You'll need to print with either PETG or ABS.
PETG is not much more difficult to print than PLA, it's just a few different settings. ABS on the other hand requires a bit more prep, usually an enclosure over the whole printer to seal out drafts. Those drafts can cause the finished part to warp. Of course, there are other more exotic high temperature filaments available, but if you are familiar with those, then you are probably a 3D printing enthusiast and don't need my advice.
3D Printing Takes So Long!
These take quite a while to print due to their size. But you can just start the process and walk away. I've heard this referred to as passive time. If you calculate in advance the amount of time that's going to be required, it can be quite daunting. But your actual hands-on involvement is only minutes and before you know it, they're done.
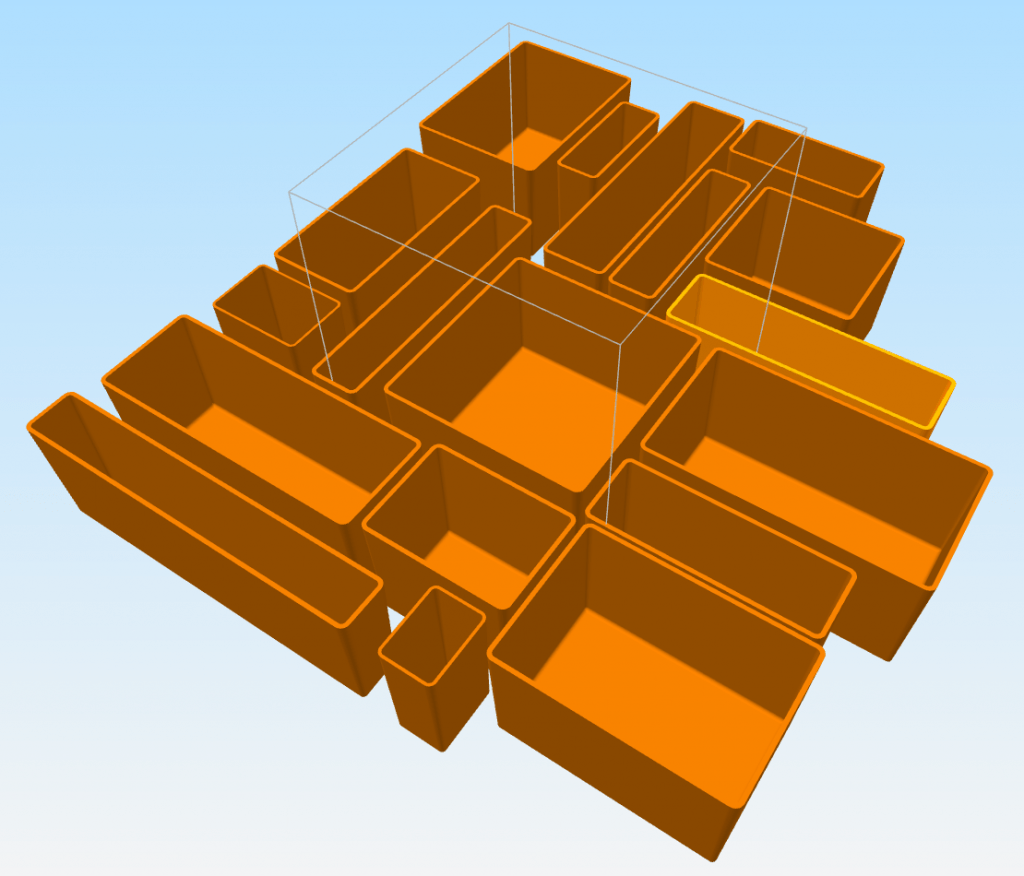
So I've come up with a total of 18 different sizes of bins. The smallest bin is based on the grid pattern on the harbor freight case. Everything is based around this dimension. And this is 1/4 the size of the smallest bin that Harbor Freight ships with the case. All other bins are a multiple of this. We'll either multiply the short side or the long side by one, two, three times and that's how we get all the different sizes of bins. It looks to me like these are going to work out great. You can download the entire collection here for your own printing.

I purchased your 3D models for the Harbor Freight storage bins. I also have an Ender 3 v2 printer. I tried printing off the small box X3 today and the print collapsed on me when it tried to suspend the filament to create the bottom of the box. I’m curious what slicer your are using and how your overcame this with your printer? I’m concerned that the larger models will only exacerbate the issue.
Hi Rob,
You can’t print these without support- or at least I never tried. I always added support under the bin but that really slows down the process, takes extra filament, and can leave an ugly finish on the bottom of the bin. Recently I have started ignoring the feet. In my application I don’t have much worry about the bins sliding around so the feet are really not needed. When I load the model into the slicer, I sink it 2 mm down into the bed and just start printing from there. I still use Simplify3D as a slicer, so I have 2 methods I can use to accomplish this. After placing the model on the bed I can adjust the Z offset down by 2 mm, or there is a function that allows you to put a particular model surface on the bed. You just have to click the bottom of the bin, then click “Place Surface on Bed”. I don’t know if other slicers have this function. Occasionally, depending on the project, I still print the feet, in that case I have to turn supports on and then I play with how little support I can use and still get the bottom to bridge properly.
Have you considered setting up the bins to accept a small sheet metal screw in each corner? It would allow you to use the screw head for the “foot” on the bin.
That is a clever idea, I’ll keep that in mind if I do a redesign in the future. Thanks!